Hi Audrey here to share once again. Here's another beautiful collection from 49 and Market, Vintage Artistry Countryside and just as versatile as previous collections. I used the Foundations Memory Keeper Quad Folio in Black to create this album and would like to share how I decorated the front after I'd added the gingham patterned paper. You'll find a tutorial video on the 49 and Market YouTube channel HERE
I used the Sunny Days paper from Vintage Artistry - Countryside 12x12 Collection Pack the whole of the outside of the folio, Leaving a frame of black folio showing. I just love the gingham prints in the pack. Matched it up with the Vintage Bits Essentials Filmstrips - Pewter.
I mounted the frame film strip to the full strip using foam mount then used double sided tape to adhere it to the album front. I hid the tape behind where a letter or laser cut would be.
I think the hardest was choosing a title for the front. I wanted to show you how I like to use the NEW 12x12 rub on transfer words as title on scrapbook layouts and other creation. You can also see this in the video. Basically I rubbed the word I chose onto white cardstock then carefully cut it out with a sharp blade, ink the edges and in the case of the 'Home' word from Vintage Artistry - Countryside 12x12 Rub on Transfer Sheet. I then weaved some laser cut greenery through the word.
Once the film strip was in place I rubbed various Vintage Artistry - Countryside 6x8 Rub on Transfer patterns in place.
I then place an arrangement of the beautiful Vintage Artistry - Countryside Laser Cut Wildflowers, it actually made putting this cover together reasonably easy. Weaving little bits through the film strip and tucking others behind some. Followed by the 'Home' title.
To finish off I tucked some more rub ons behind some laser cuts and on the film strip and place the lase cut bees and butterflies here and there.
49 and Market - Products Used:
Foundations Memory Keeper Quad Folio - Black Vintage Artistry - Countryside 12x12 Collection Pack
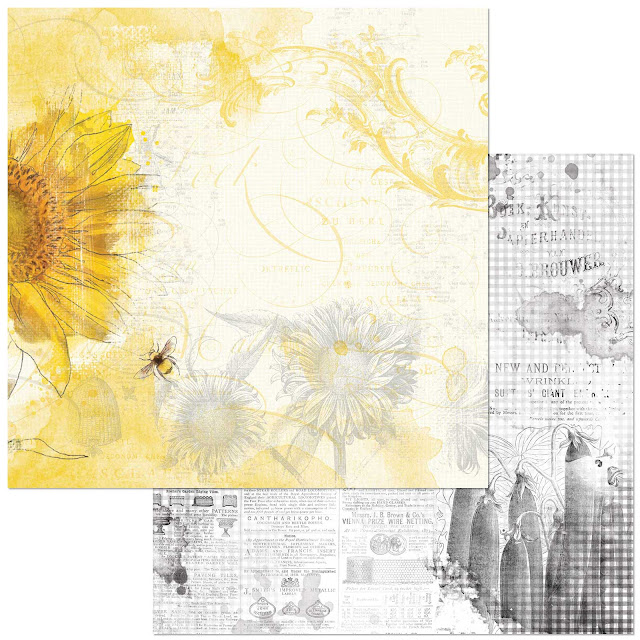 I used Sunny Days from Vintage Artistry - Countryside 12x12 Collection Pack
 Vintage Artistry - Countryside Laser Cut Wildflowers
 Vintage Artistry - Countryside 12x12 Rub on Transfer Sheet
 Vintage Bits Essentials Filmstrips - Pewter
 Vintage Artistry - Countryside 6x8 Rub on Transfer Sheet
Until Next Time
Happy Creating
Audrey x


 Vintage Artistry - Countryside 12x12 Collection Pack
 I used Sunny Days from Vintage Artistry - Countryside 12x12 Collection Pack
 Vintage Artistry - Countryside Laser Cut Wildflowers
 Vintage Artistry - Countryside 12x12 Rub on Transfer Sheet
 Vintage Bits Essentials Filmstrips - Pewter


