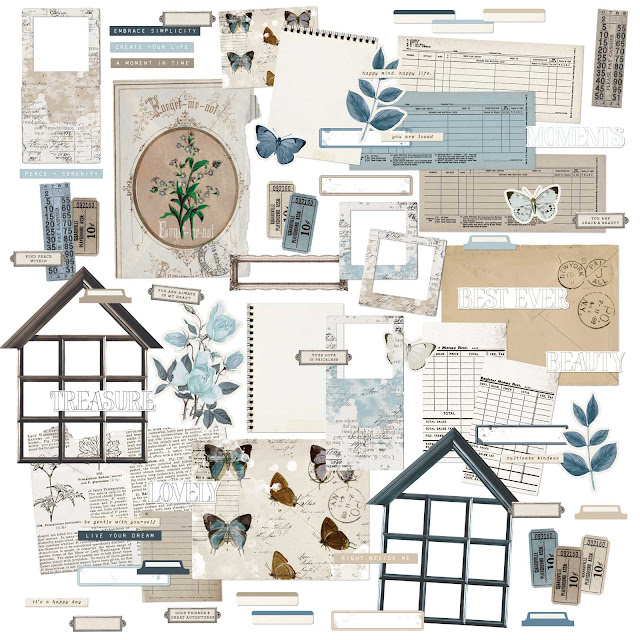
Hi there Audrey here once again with another layout showcasing Vintage Artistry Serenity. How magical was this photo shoot? They really gave me a Lord of the Rings or Chronicles of Narnia vibe. 
I used the Serenity Solids Paper 1 from Vintage Artistry Serenity - Solids 12x12 Collection Pack as my base and a frame for my main paper. I trimmed approximately 1cm of two edges off the Hidden Whispers paper from the Vintage Artistry Serenity 12x12 Collection Pack and stuck it to the Solid Paper 1 sideways so the main leaf design looks like it coming down from the top.
You've got to check out the NEW Curators Essential Key Lined Chipboard Frames,,,,,They're adhesive!!One of many of my NEW favourites at the moment. I stuck one of the largest ones to Vintage Artistry Serenity Brief Glimpse paper, then used a blade to cut it the frame away from the paper. I placed foam mount behind the frame, mainly in the centre back in case I wanted to slip extra paper or ephemera ect behind. I trimmed my main photo to fit into this frame so that a small amount of the Brief Glimpse paper could be seen each side of the photo. I used foam mount for this also.
The smaller photo is framed with the beautiful rustic frame from ARToptions Plum Grove Laser Cuts I attached a double layer of foam tape to the centre back. Then stuck both photos in place on the layout.
I've taken the ornate rectangular frame from the Vintage Artistry Serenity - Laser Cut Outs and cut it diagonally across. Tucked one side behind the small photo and the other at the bottom of the main photo. Centred the Filigree flourish is also from Plum Grove laser cuts below the smaller photo and glued that in place.
To the bottom right of the layout is a collection of wildflowers from ARToptions Plum Grove Wildflower and Curators Meadow Laser Cuts along with some little forest critters and mushrooms from the Meadow set also. I added a little curve to the animals for depth using hot glue allowed to dry then sticking down. I did the same for the beautiful laser cut leaves at the top of the page. Shaped the leaves dropped some hot glue in the curves at the back then stuck them in place. Then I tucked some of the Spectrum Sherbet - Strawberry Lemonade Acetate Leaves amongst the blue one. Cutting any over hanging leaves or branched away at the top.
To make the collection of elements to the left of the main photo I started with gluing the main three flowers and leaves from Rustic Bouquet - Bluejay in place, then tucked pieces of the circular ornate frame from the Laser Cut Outs. I cut this into about four pieces. I glued a couple of tags from Vintage Artistry Serenity - Chipboard Bits and Tag Set to the left of the photo and used the chain ladder from the Serenity Laser Cut Outs and a fence in front followed by some mushroom and foliage laser cuts. Once I was happy with this little arrangement to the left side of the photo I hot glued the fox and chipboard banner in place. To finish off I glued another ornate frame with some rub-ons behind it and a chipboard bookplate above it to the bottom right of the main photo.


