Suprise,,,, 2 posts in 1 weekend and you never know there may even be another, while I've have some time to myself.
Some more sharing.
Suz from Aussie Scrap asked me a little while back if I'd share with them a project done in the white tones, I'm so addicted to, using product available from them. I was the lucky last for this year in thier 'Trends Post', shared on Mondays.
Click
Here to take a look and read. You'll have to scroll through the great eye candy of the 'Weekend's Inspiration', but that shouldn't be hard.
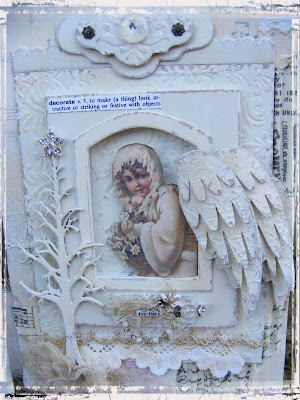
7 Gypsies Photo Stand


I've been meaning to start this project for a while now and have also been wanting to get back into my scrapbooking and this seem like a good way to start. I completed the front and the inside will be a work in progress. It will consist of small layouts approx A5 size. I used the 7 Gypsies Journal Pages – Antiquarian as a base for these pages. I did have to trim down the sides a fraction to fit into the 7 Gypsies 5”x7” Vertical Refills. So I'll try and share a layout each time I do one.
Here's the first few to kick it off.

I thought it would be nice to mix a few quotes amongst the pages as well.


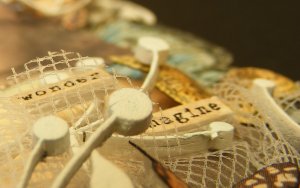
Thought I'd share how I painted the metal pieces. The ones used in project are by Tim Holtz.
I just use normal acrylic paint, I use about 3 to 4 coats and add heat with the heat gun in-between coats to set it. I only recommend this for pieces that are not going to be knocked or touched often.

Once its dry I take to the piece with some sand paper and a blunt craft knife to expose the words and the edges.

Here to expose the raised surface.

Sand and scrape as much or as little as you like.
Happy Creating
Audrey x