Hi
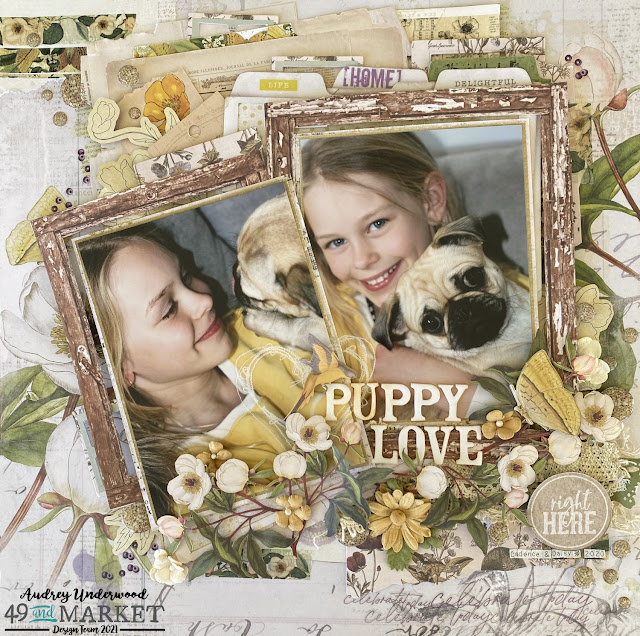
there. Here again with my second layout for January for 49 and Market.
It's
well and truly summertime
here in Australia. We are cooking right now here in Perth, cooking as in
'it's really hot outside'! I can't say I'm a real
fan of the summertime here as the temperature can reach over 40
degrees Celsius. But I'm also fortunate to spend two to three weeks of
the summer holidays in
January away in the southwest of Western Australia, in a
seaside town called Busselton. Where we spend the hot days by the pool
or on the beach. That's where these beach shots were taken last year and
as this post is published I will be there again. I feel very fortunate
to be able to do this with my family, especially with so many people
around the world not even being allowed out of the homes except for
essential things. I'm so sorry if this is you or your family. I hope you find inspiration from my page and get to create soon. To take a moment for yourself.
I
was lucky enough to receive together the NEW Vintage Artistry - Blush Mini Collection 12x12 Paper Pack and the NEW Vintage Artistry Collectors Edition Vol 1 to play with and just because it was a beach layout I had
to throw in a small selection of Vintage Artistry - Shore. I
love the photo frames on the laser cut sheet in the Blush Collections
so I framed each photo with them. I used some scrap chipboard behind
each photo to give the page some depth.
Once I decided on what papers to use I started with Paper 4 from the Collectors Edition pack as my base. I trimmed 1cm from three of the edges and about 2.5 from the other, on the Vintage Artistry Blush - Poised. I trimmed Paper 5 from the Collectors pack slightly smaller then stuck them all in place. I stuck the photos in place.
I used pieces from the laser cut sheet in the Blush pack and the Vintage Artistry Shore pack and played with placement. Once I was happy added curves to the leaves, petals and shells then glued them in place some silicon glue.
I
added the doily rub-on's from the awesome pack of Vintage Artistry
Blush/Sage Rub-on Transfers as trims under laser cut pieces and onto
tags tucked in place at the edges of the layout. I also added stips of stitching rub-ons from the Roughly Sewn sheet in White. Have you seen the NEW Wishing Bubbles and Baubles sets!?! Adorable tiny to medium size shiny pre glued dots, with words, images and plain coloours to adorn you pages and creations with. I finished off by adding these, the sequence laser cut pieces and the rub-on seed beads.
I also added rub-on words from each of the rub-on packs. 


49 and Market Products Used ⮙ Vintage Artistry - Blush 12x12 Collection Pack ⮙


