
Hi back again with another journal, well, a journal cover. I might be a little obsessed with this type of thing at the moment!! I've always been into journals, it goes way back and I love to make them myself rather than purchase a ready made one, whether from scratch or from old books.
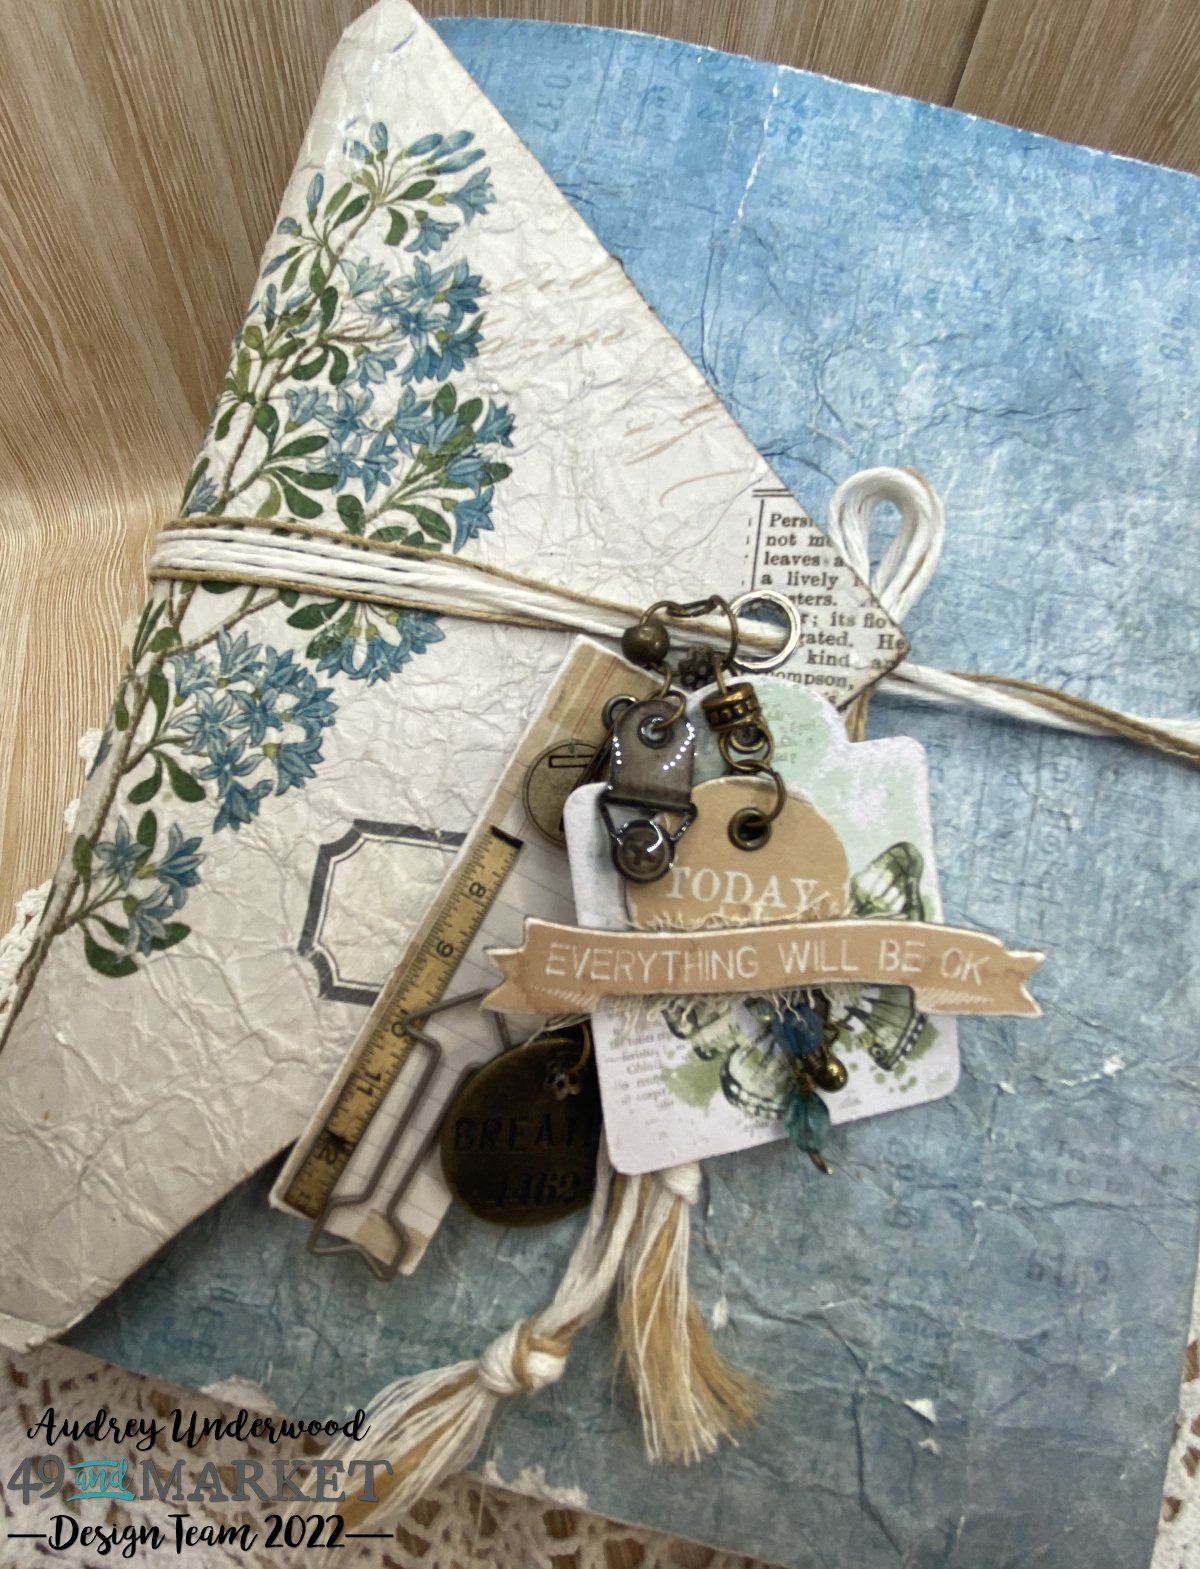
When I first seen the Foundations Envelope Gatefold Flip Folio I instantly knew what I wanted to do with it and here it is.
I tried to make it look like an old well worn, well loved journal.
The folio, like similar ones in the range is an interactive folio that can be constructed in lots of different ways and orientations, with lots of room to add more inside, whether lumpy bumpy stuff, photos or lots more pages. Once the folio is scored and closed it measures - 6.25 x 8.25 x .5″
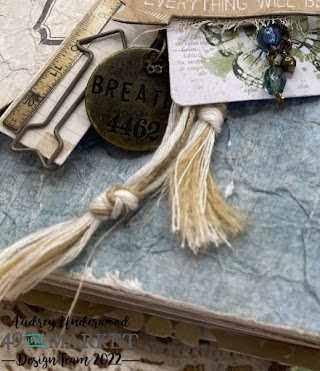
I started by scrunching the blue piece of paper from Curators Botanical - 12x12 Solids Collection Paper Pack & the Curators Botanical Garden Clippings Paper I scrunched and scrunched this pieces many times to soften them and add lots of creases to the papers. I used pva glue all over the front and partly over the back of the journal and stuck the papers in place, pressing them as smooth as possible with the creases in the papers. Then trimmed off the edges. I lightly sanded some edges and across the top of the folio ever so slightly in places to bring out the creases. I lightly inked the edges of the triangular closing flap and once the glue was dry positioned an eyelet in the centre of the flap and set in place for my front tie piece to go through to hold the journal closed. I used two long lengths of jute and three lengths of white string for this. I grouped them together and tied a tight knot on each end then using a pin I separated all the lengths to form tassels and trimmed the ends even.
I attached the tags using jump rings to the string so that they could move along the strings easily.
I chose a chipboard circle from the ARToptions Avesta - Chipboard Set with the word 'Today' on it, punched a hole it and attached an eyelet to the centre top. I then glued a chipboard banner with some more words on it from the set with some muslin behind for texture. I took two of the Vintage Artistry Essentials - Hardware - Epoxies and stuck them back to back to form a charm.
I then added chain, beads and charms for more decoration along with a Vintage Artistry Essentials - Shaped Clips Dark Greige (the arrow)and a chipboard number to finish off.
Stay tuned next time for the inside pages


Until Next Time
Happy Creating
Audrey x
No comments:
Post a Comment